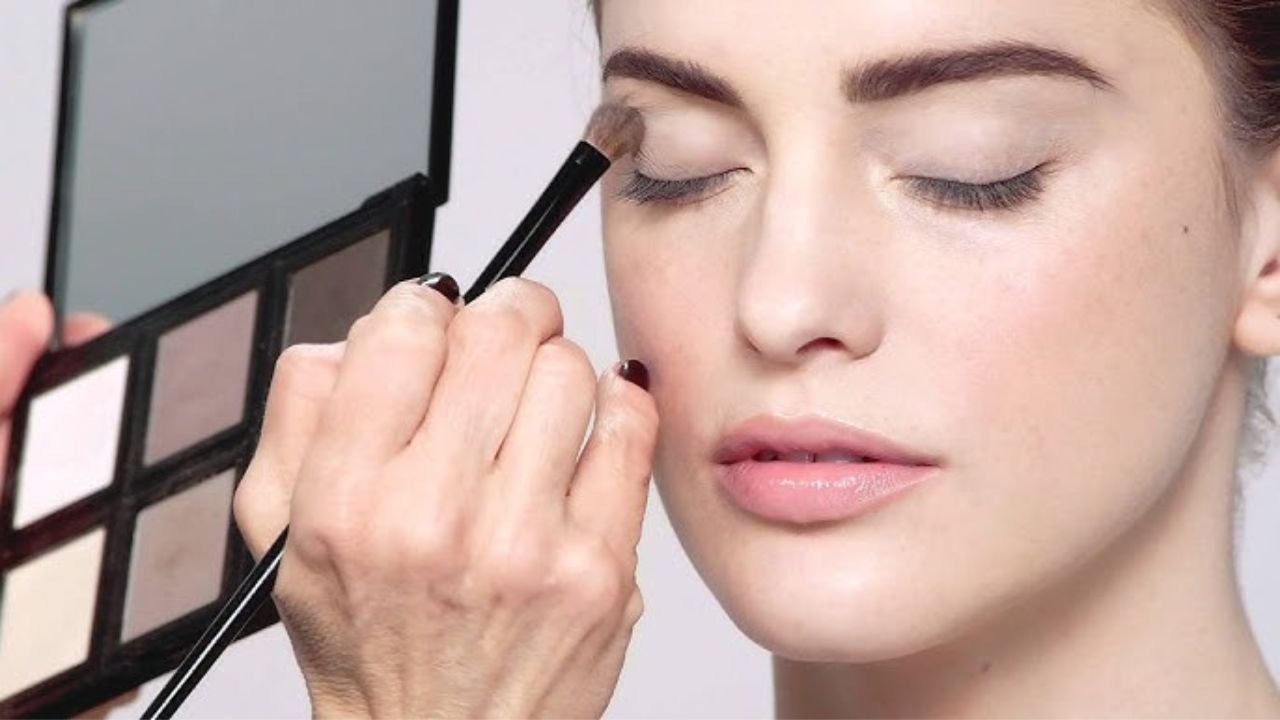
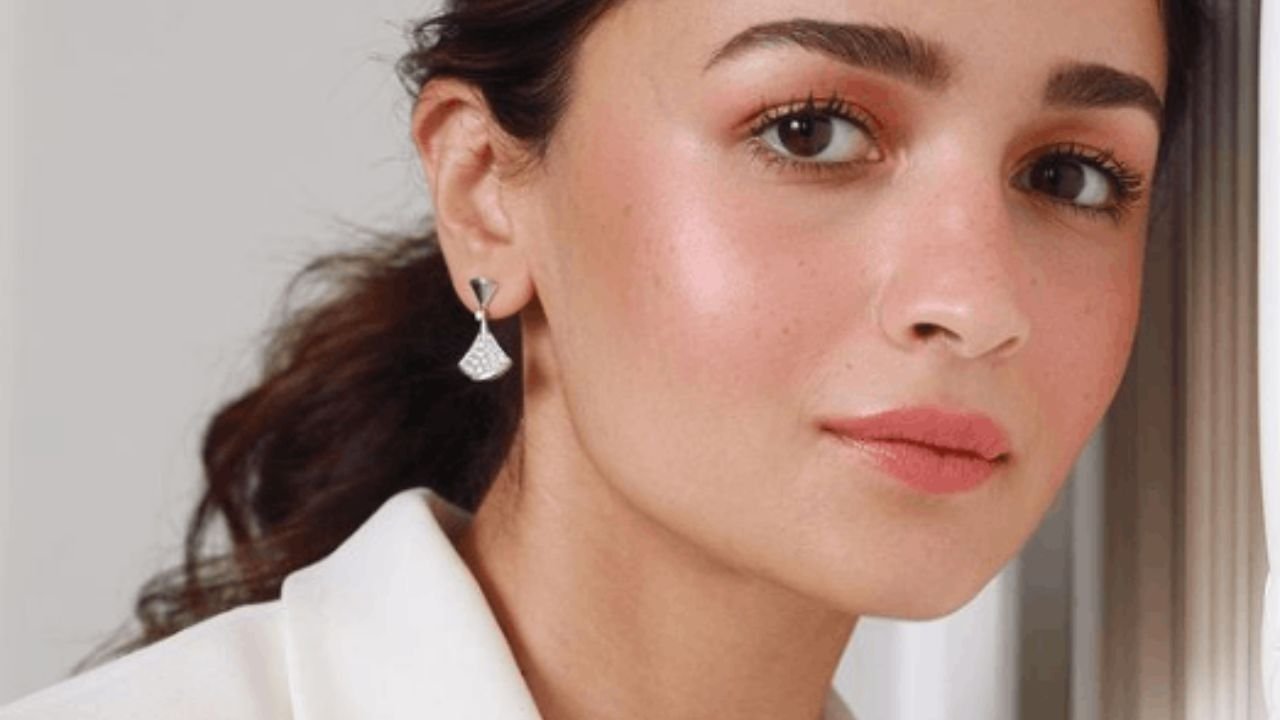
Easy & Natural Eye Makeup Tutorial for Beginners: Step-by-Step Guide!

Creating a natural, effortless eye makeup look is a fantastic way to enhance your features without feeling overwhelmed. Whether you’re new to makeup or just want a simple routine for everyday wear, this step-by-step guide will walk you through every stage of achieving a fresh, natural eye makeup look. Let’s dive into the details!
Table of Contents
- Introduction
- Essential Tools and Products
- Preparing Your Eyes
- Step 1: Prime Your Eyelids
- Step 2: Choose Your Natural Eyeshadow Colors
- Step 3: Apply the Base Shade
- Step 4: Define the Crease
- Step 5: Highlight the Inner Corners and Brow Bone
- Step 6: Apply Eyeliner (Optional)
- Step 7: Curl and Mascara
- Tips for a Flawless Natural Look
- Common Mistakes to Avoid
- Maintenance and Removal
- Conclusion
- FAQ
1. Introduction
Natural eye makeup emphasizes your eyes without heavy pigmentation or dramatic lines. The goal is to look fresh, awake, and polished while maintaining a subtle and effortless appearance. This look is perfect for daily wear, work, casual outings, or any occasion where you want to look put-together without overdoing it.
2. Essential Tools and Products
Before starting, gather the following tools and products:
Tools:
- Eyeshadow brushes (flat shader brush, blending brush)
- Angled brush (for eyeliner or precise application)
- Small detail brush (for inner corner and brow bone highlight)
- Eyelash curler
- Mascara wand
Products:
- Eye primer (optional but recommended)
- Neutral eyeshadow palette (beiges, browns, taupes)
- Eyeliner (pencil, gel, or liquid; optional)
- Mascara
- Eyelash curler
- Concealer (for cleanup and highlighting)
3. Preparing Your Eyes
Preparation is key to a smooth, long-lasting makeup look.
Cleanse and Moisturize
Start with a clean face. Apply your regular moisturizer and eye cream to hydrate the skin around your eyes.
Prime Your Eyelids
Using an eyeshadow primer or a concealer helps to even out the eyelid tone, minimize creasing, and increase the longevity of your makeup. Apply a small amount across your eyelids and blend well with your finger or a brush.
4. Step 1: Prime Your Eyelids
Priming is crucial to prevent eyeshadow from fading or creasing throughout the day.
How to apply:
- Take a small amount of eye primer or concealer.
- Using your finger or a flat brush, gently pat it onto your eyelids.
- Blend out the edges to create an even surface.
Tip: Use a shade close to your skin tone for a natural finish.
5. Step 2: Choose Your Natural Eyeshadow Colors
For a natural look, select shades that complement your skin tone.
Color Suggestions:
- Beiges and creams: For the base and highlighting
- Light browns or taupes: For the crease and definition
- Soft matte shades: To avoid shimmer for a more natural finish
- Optional: Slightly darker shades for subtle depth
Tip: Stick to matte or satin finishes for a soft, natural appearance.
6. Step 3: Apply the Base Shade
This step creates a smooth, uniform background for the rest of your eye makeup.
How to apply:
- Using a flat shader brush, pick a shade close to your skin tone or a light beige.
- Sweep the color across your entire eyelid, from lash line to brow bone.
- Blend the edges softly to avoid harsh lines.
Result: Your eyelid now has an even, clean base.
7. Step 4: Define the Crease
Adding subtle definition to your crease adds dimension without heavy makeup.
Choosing the crease color:
- Use a soft matte brown or taupe shade.
- Pick a shade slightly darker than your skin tone but not too intense.
Application:
- Using a fluffy blending brush, pick up a small amount of the crease color.
- Apply it to the crease area (the socket line) with small windshield-wiper motions.
- Focus on blending back and forth, gradually building up color.
- Keep the application light to maintain a natural look.
- Extend the color slightly outward for subtle elongation.
Tip: Always blend well to avoid harsh lines. The goal is a seamless transition.
8. Step 5: Highlight the Inner Corners and Brow Bone
Highlighting brightens your eyes and gives a fresh appearance.
Inner Corner:
- Using a small detail brush or your fingertip, apply a tiny amount of a light, neutral shade or a soft shimmer (if preferred).
- Gently dab on the inner corners of your eyes.
Brow Bone:
- Use a matte or satin shade close to your skin tone or a subtle highlighter.
- Apply just below your eyebrows for lift and definition.
Tip: Keep the highlight minimal for a natural look, avoiding glitter or heavy shimmer.
9. Step 6: Apply Eyeliner (Optional)
Eyeliner can be added subtly or skipped altogether for a natural look.
For a natural appearance:
- Use a soft brown or dark brown pencil or gel liner.
- Lightly sketch along your upper lash line, staying close to the roots of your lashes.
- Smudge slightly with a brush or your fingertip for a softer effect.
- Avoid winged or dramatic lines.
Optional lower lash line:
- Lightly apply the same shade as your crease or a darker brown beneath the lower lashes.
- Use a small brush for precise application.
Tip: If you prefer no eyeliner, focus on mascara for eye definition.
10. Step 7: Curl and Mascara
Mascara opens up the eyes and adds definition.
Curl Your Lashes:
- Use an eyelash curler to lift your lashes.
- Clamp gently at the base of your lashes and hold for a few seconds.
- Repeat on all lashes.
Apply Mascara:
- Use a lengthening or volumizing mascara.
- Wiggle the wand from the root to the tip of your lashes to coat thoroughly.
- Apply 1-2 coats, focusing on the upper lashes.
- Lightly coat the lower lashes if desired.
Tip: Use a clean spoolie or disposable wand to prevent clumping.
11. Tips for a Flawless Natural Look
- Blend thoroughly: Seamless blending is key to natural makeup.
- Use soft shades: Avoid bold or shimmery colors.
- Less is more: Build color gradually; it’s easier to add than to remove.
- Match your makeup to your skin tone: Avoid stark contrasts.
- Choose the right mascara: Brown mascara offers a softer, more natural effect than black.
- Keep eyebrows groomed: Well-shaped brows frame your eyes naturally.
12. Common Mistakes to Avoid
- Applying too much eyeshadow at once: Build gradually.
- Harsh lines: Always blend well.
- Using glitter or shimmer excessively: For a natural look, keep shimmer minimal.
- Overdoing eyeliner: Light application or skipping it altogether maintains a soft appearance.
- Ignoring eyelash care: Proper curling and mascara application are crucial.
13. Maintenance and Removal
Throughout the day:
- Carry a small brush or cotton swab for touch-ups.
- Use a setting spray to prolong your makeup.
At the end of the day:
- Remove makeup gently with a makeup remover or micellar water.
- Cleanse your face thoroughly to prevent clogged pores.
14. Conclusion
Achieving an easy, natural eye makeup look is all about simplicity and subtlety. With minimal products, proper blending, and attention to detail, you can enhance your eyes beautifully without feeling overwhelmed. Practice regularly, and you’ll find your own signature natural style that complements your features perfectly.
Remember, the best makeup is the one that makes you feel confident and comfortable. Keep experimenting, and don’t be afraid to adapt these steps to suit your unique look!
15. FAQ
Q1: How long does this natural eye makeup routine take?
Answer: Usually around 10-15 minutes, perfect for quick daily wear.
Q2: Can I skip the eyeliner?
Answer: Absolutely! The look is equally stunning without eyeliner, especially for a very natural finish.
Q3: Which eyeshadow shades suit warm/cool undertones?
Answer: Warm undertones look great with browns, oranges, and bronze shades. Cool undertones suit taupes, cool browns, and soft greys.
Q4: How can I make my eyes look more awake with minimal makeup?
Answer: Focus on curling your lashes and applying mascara, and highlight the inner corners and brow bone.
Q5: What if I have oily eyelids?
Answer: Use a good eyeshadow primer to control oil and prevent creasing.
Final Thoughts
Natural eye makeup is all about enhancing your features subtly. With these simple steps, you can create a polished, fresh look suitable for any occasion. Remember to practice patience, experiment with shades that suit you, and most importantly, enjoy the process!


