
How to Apply Nail Polish Properly: The Ultimate Step-by-Step Guide
Introduction
A beautifully polished set of nails can elevate your entire look, boost confidence, and serve as a form of self-expression. However, achieving a professional-looking manicure at home requires more than just applying color to your nails. Proper nail polish application involves preparation, technique, and aftercare. Whether you’re a beginner or looking to refine your skills, understanding the nuances of applying nail polish correctly can make a significant difference in the final result.
In this comprehensive guide, we will explore every aspect of nail polish application—from preparing your nails to finishing touches—that will help you obtain a smooth, long-lasting, and salon-quality manicure. So, let’s get started!
The Importance of Proper Nail Polish Application
Applying nail polish properly ensures:
- Smooth, even coverage: No streaks or bubbles.
- Long-lasting wear: Less chipping and peeling.
- Healthy nails: Proper preparation prevents damage.
- A polished, professional appearance: Flawless finish with sharp edges and neat lines.
By mastering the techniques, you can save money, time, and effort while enjoying beautiful nails every day.
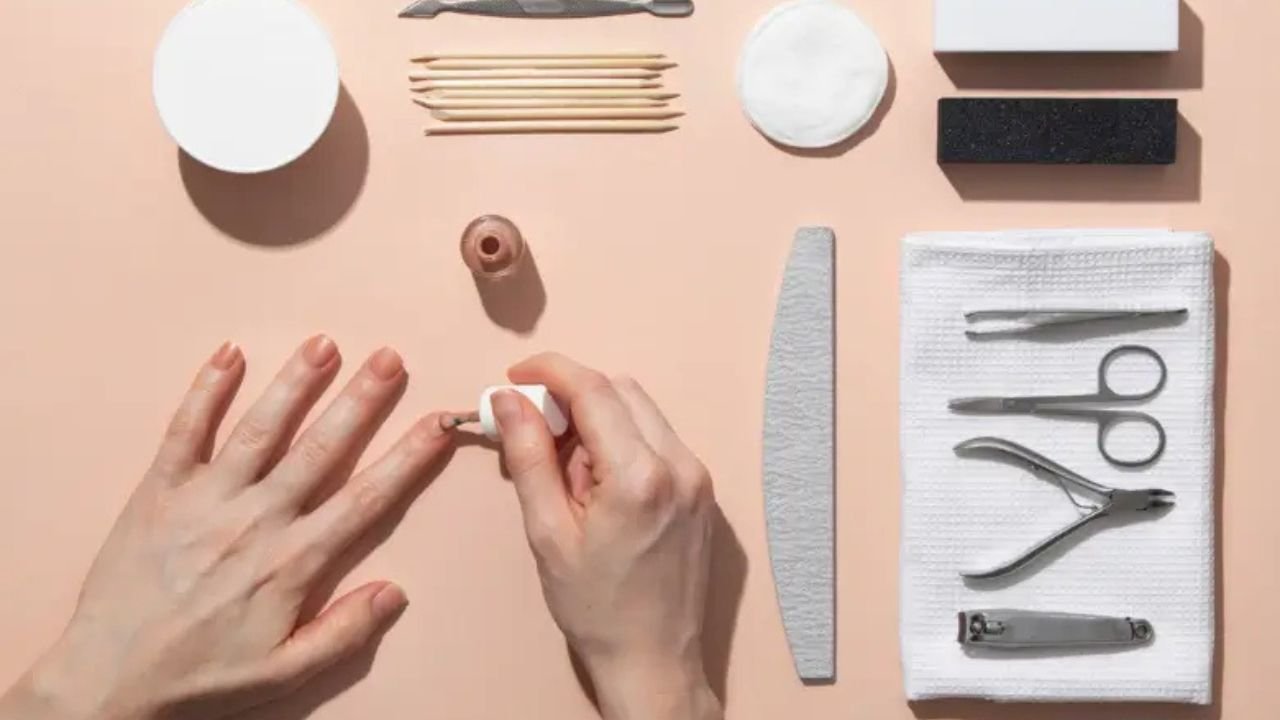
Tools and Supplies Needed
Before beginning, gather all necessary tools and products:
Nail Polishes
- Base coat
- Nail polish (your choice of color)
- Top coat
Nail Care and Prep
- Nail file (preferably glass or crystal for gentle filing)
- Nail buffer or buffer block
- Cuticle pusher or orange stick
- Cuticle oil
- Nail cleanser or alcohol wipes
- Hand moisturizer
Application Accessories
- Small brush or cleanup brush (angled or flat)
- Cotton swabs or pads
- Tweezers (for small accessories if needed)
- Nail polish remover (preferably acetone-based for cleanup)
Optional
- Nail strengthener or growth treatment
- Nail primer (for extra durability)
- Nail decals or stickers for decoration
Step-by-Step Guide to Applying Nail Polish Properly
1. Start with Clean, Dry Nails
Proper preparation begins with clean nails:
- Remove any existing nail polish using a gentle remover to eliminate old polish.
- Wash your hands thoroughly with soap and water to remove dirt, oils, and residue.
- Dry your hands and nails completely to prevent trapping moisture under polish, which can cause lifting or chipping.
2. Shape Your Nails
Using a nail file, shape your nails to your preferred style:
- Square: Straight across with slightly rounded edges.
- Round: Curved edges for a softer look.
- Oval: Elongated with rounded edges.
- Squoval: A mix of square and oval for durability.
File in one direction to prevent splitting and to achieve a smooth edge. Avoid back-and-forth sawing, which can weaken nails.
3. Buff the Nails
Gently buff the surface of your nails:
- Use a buffer to smooth out ridges and create a slightly matte surface.
- This step improves adhesion of the polish and ensures an even application.
- Be careful not to over-buff, as it can weaken the nails.
4. Push Back and Care for Cuticles
Healthy cuticles contribute to a neat appearance:
- Soak your fingertips in warm, soapy water for 2-3 minutes to soften cuticles.
- Gently push back cuticles with a cuticle pusher or orange stick.
- Do not cut or trim cuticles unless necessary; over-trimming can lead to infections.
- Apply cuticle oil to nourish and hydrate cuticles afterward.
5. Cleanse the Nails
Remove any oils or residue that could hinder polish adhesion:
- Use an alcohol wipe or a cotton pad soaked in nail cleanser or pure acetone to wipe each nail plate.
- This step ensures a clean surface for the polish to stick.
6. Apply a Base Coat
The foundation of a flawless manicure:
- Choose a clear, sticky base coat formulated to adhere to nails and prevent staining.
- Apply a thin, even layer over each nail, covering from cuticle to tip.
- Be careful to avoid flooding the cuticles, which can create uneven edges and reduce longevity.
- Allow the base coat to dry completely—about 30 seconds to 1 minute—before moving on.
7. Apply the Nail Color
Now, the main event:
- Shake your nail polish bottle gently to mix the pigment.
- Remove excess polish from the brush by wiping it on the bottle’s rim.
- Position the brush at the base of the nail, just above the cuticle line, without touching the cuticle.
- First Stroke: Gently push the brush forward toward the tip, covering about one-third of the nail.
- Second Stroke: Repeat from the middle to the tip, covering the remaining two-thirds.
- Third Stroke: Finish the sides, ensuring the edges are clean and neat.
- The goal is to use 2-3 thin coats rather than thick layers, which dry unevenly and chip faster.
Tip: For an even finish, try to keep the brush at a consistent angle and avoid pressing too hard.
8. Allow Each Coat to Dry
- Wait approximately 1-2 minutes for each coat to dry before applying the next.
- Applying coats before the previous one is fully dry can cause smudging, smearing, or bubbling.
9. Apply Additional Coats
- Usually, 2-3 coats of color are sufficient for opacity and vibrancy.
- Ensure each coat is dry before adding the next to prevent smudges and uneven texture.
10. Clean Up Edges and Cuticles
- Dip a small brush or a pointed cotton swab into nail polish remover.
- Carefully clean around the cuticles and free edges to remove any excess polish.
- This step ensures sharp, clean lines and a polished look.
11. Finish with a Top Coat
- Apply a thin layer of top coat over each nail.
- The top coat seals in the color, adds shine, and protects from chipping.
- Use a brush stroke from cuticle to tip, covering the entire nail.
- For extra durability, consider applying a second layer of top coat after the first has dried.
12. Allow Final Drying Time
- Wait at least 5-10 minutes for the polish to fully set.
- Be cautious during this period to avoid smudging.
13. Hydrate and Moisturize
- Once the polish is dry, apply cuticle oil around the nails.
- Moisturize your hands with lotion to keep skin soft and prevent dryness.
Tips for Achieving a Flawless Finish
- Thin Coats Are Better: Applying multiple thin coats yields smoother, more durable results than thick layers.
- Avoid Overworking: Work methodically, but don’t go back and forth over the same area repeatedly to prevent smudging.
- Use Quality Products: Good-quality polish and top coats tend to last longer and apply more smoothly.
- Stay in a Steady Position: Rest your hand on a flat surface to keep your nails stable during application.
- Don’t Rush: Patience ensures a neat, even finish and longer-lasting manicure.
- Ventilation: Work in a well-ventilated area to reduce fumes from polish and remover.
Common Mistakes and How to Avoid Them
1. Applying Thick Layers
- Problem: Causes uneven drying, smudging, and chipping.
- Solution: Use thin coats and build color gradually.
2. Skipping Base and Top Coats
- Problem: Reduced adhesion and protection.
- Solution: Always use both for durability and shine.
3. Flooding the Cuticles
- Problem: Makes nails look messy and can cause peeling.
- Solution: Wipe excess polish off the brush before applying and work carefully.
4. Not Allowing Proper Drying Time
- Problem: Smudges and dents.
- Solution: Be patient and wait between coats and after final application.
5. Using Old or Thickened Polish
- Problem: Difficult to apply smoothly.
- Solution: Replace old polish regularly and thin thickened bottles with nail polish thinner.
6. Touching Nails Before Fully Dry
- Problem: Smudges and dents.
- Solution: Wait at least 10-15 minutes or longer for complete curing.
Tips for Long-Lasting Nail Polish
- Seal the Edges: When applying top coat, run it over the tip of the nail to seal the edge and prevent chipping.
- Avoid Hot Water: Exposure to hot water can weaken the polish. Wear gloves when washing dishes.
- Use a Quick-Dry Spray or Drops: Helps speed up drying.
- Apply a Second Top Coat Weekly: Refresh the shine and durability.
- Moisturize Regularly: Dry, cracked skin can lead to polish lifting.
Creative Tips and Finishing Touches
- Add Glitter or Flakes: Mix in or top with glitter for sparkle.
- Use Nail Stickers or Decals: For intricate designs without freehand effort.
- Create Gradient or Ombre Effects: Blend two or more colors.
- Experiment with Matte or Satin Finishes: Achieved with special top coats.
- French Tips: Use a contrasting color or white tip for a classic look.
- Nail Art: Fine brushes or stamping plates can add patterns and designs.
Maintenance and Removal
Removing Nail Polish
- Use acetone-based remover for quick results.
- Soak a cotton pad with remover, press onto the nail, and hold for a few seconds before wiping.
- For gentle removal, acetone-free removers are milder but may require more effort.
- Avoid peeling or picking at polish, which damages nails.
Maintaining Your Nails
- Regularly moisturize cuticles and hands.
- Use nourishing nail oils or treatments.
- Take breaks between manicures to prevent nail damage.
Conclusion
Applying nail polish properly is both an art and a science. It requires patience, practice, and attention to detail. By following the steps outlined—from thorough preparation to careful application and finishing—you can achieve a flawless, long-lasting manicure at home that rivals professional results.
Remember, the key to perfect nails is consistency and technique. Over time, your skills will improve, and you’ll develop your own style and tricks. So, gather your tools, select your favorite shades, and enjoy the process of creating beautiful nails that make you feel confident and glamorous.