
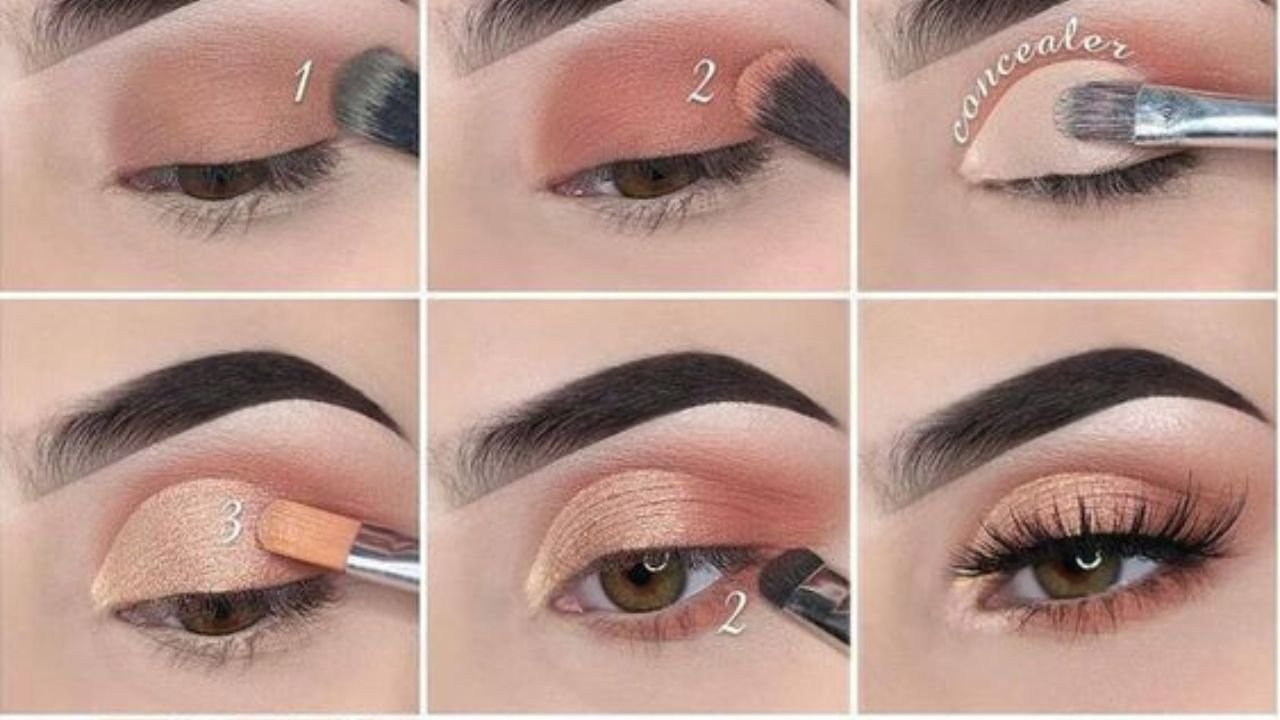
Step-by-Step Natural Eye Makeup Tutorial for Beginners
Introduction
Natural eye makeup is all about enhancing your eyes without heavy or dramatic products. It emphasizes your natural beauty, creating a fresh, awake, and polished appearance suitable for everyday wear, work, casual outings, or when you want a subtle touch of glamour.
This tutorial breaks down each step with simple techniques and tips, ensuring even beginners can master the art of effortless, natural eye makeup.
Step 1: Prepare Your Eyelids
Why: Clean and primed eyelids ensure smooth application and longer-lasting makeup.
How:
- Start with a clean face. Gently cleanse your eyelids to remove excess oil or residue.
- Apply an eye primer or a small amount of concealer over your eyelids. Use your fingertip or a brush to blend. This creates an even base, enhances color payoff, and helps prevent creasing.
Step 2: Set Your Base (Optional)
Why: Setting the primer with a neutral powder can control oil and improve product adherence.
How:
- Lightly dust a translucent setting powder or a matte nude eyeshadow over your eyelids using a fluffy brush.
- This step is especially helpful if you have oily eyelids.
Step 3: Define Your Crease
Why: Adding subtle depth to your eyes creates dimension and shape.
How:
- Choose a soft matte eyeshadow in a neutral tone, such as light taupe, soft brown, or beige.
- Using a fluffy blending brush, gently sweep the color into your crease (the fold of your eyelid). Use windshield-wiper motions to blend back and forth.
- Keep it light and soft; build the color gradually to avoid harsh lines.
Tip: For beginners, stick to matte shades to keep the look natural and easy to blend.
Step 4: Lighten the Eyelid
Why: Brightening the eyelid area enhances the eyes and adds a fresh appearance.
How:
- Select a light, neutral shade close to your skin tone, such as soft beige or champagne.
- Using a flat eyeshadow brush or your fingertip, gently pat this color onto your eyelid area (from the lash line to the crease).
- Keep the application light and even.
Step 5: Define the Outer Corner
Why: Slightly darkening the outer corner adds subtle depth and prevents the eyes from looking flat.
How:
- Use a slightly darker matte shade, like a soft brown or taupe.
- With a small, fluffy brush, lightly apply this shade to the outer V of your eye (the corner of your eyelid and slightly onto the lower lash line).
- Blend well to avoid harsh edges.
Tip: Keep the darker shade minimal for a natural look; you can always add more if desired.
Step 6: Highlight the Inner Corner and Brow Bone
Why: Highlighting opens up the eyes and gives a fresh, awake appearance.
How:
- Choose a light, shimmery or matte shade (like champagne or soft white).
- Using a small brush or your fingertip, gently apply to the inner corner of your eyes.
- Lightly dab the same shade onto your brow bone (just below your eyebrow) for lift.
Step 7: Apply Eyeliner (Optional for a Natural Look)
Why: A subtle eyeliner defines the eyes without heavy lines.
How:
- Use a brown or soft black pencil, gel, or liquid liner.
- For beginners, tightlining (lining the waterline) or smudging a soft pencil along the upper lash line gives a natural enhancement.
- Keep the line thin and close to your lash roots.
- If using liquid or gel liner, draw a very thin line from the inner corner to the outer corner, stopping just beyond the outer lash line.
Tip: For a softer look, smudge the liner gently with a small brush or cotton swab.
Step 8: Curl Your Eyelashes
Why: Curling lifts your lashes and opens up your eyes.
How:
- Use an eyelash curler, gently clamp at the base of your lashes.
- Hold for a few seconds and wiggle slightly for a natural lift.
- Be gentle to avoid pinching or damaging your lashes.
Step 9: Apply Mascara
Why: Mascara adds length and volume, making your eyes appear larger and more awake.
How:
- Take your favorite mascara and wipe off excess product from the wand to avoid clumps.
- Starting at the roots, wiggle the wand upward through your lashes.
- Use a zig-zag motion to coat evenly.
- Apply to both upper and lower lashes if desired, but keep it light on the lower lashes for a soft look.
Tip: For a natural effect, focus on lengthening and defining rather than volumizing.
Step 10: Final Touches
Optional:
- If needed, clean up any fallout or uneven edges with a cotton swab dipped in makeup remover.
- Lightly blend any harsh lines for seamlessness.
- Set your eye makeup with a light dusting of translucent powder if needed to reduce shine or creasing.
Additional Tips for a Flawless Natural Look
- Choose the right shades: Stick to neutral tones—beige, taupe, soft browns, champagne—to keep the look subtle.
- Keep brushes clean: Regularly wash your brushes to prevent bacteria and ensure smooth application.
- Less is more: Build color gradually; natural makeup is about enhancing, not masking.
- Practice blending: Soft, seamless blending is key to a natural look.
- Use good quality products: They blend better and last longer.
Summary of the Natural Eye Makeup Routine
| Step | Product/Tool | Technique | Result |
|---|---|---|---|
| 1 | Eye primer/concealer | Even base | Smooth, long-lasting application |
| 2 | Translucent powder | Set primer | Prevents creasing |
| 3 | Neutral matte shade | Blend into crease | Adds subtle depth |
| 4 | Neutral shade or shimmer | Pat onto eyelid | Brightens and opens eyes |
| 5 | Slightly darker shade | Outer corner | Adds dimension |
| 6 | Light shimmer | Inner corner & brow bone | Highlights & lifts |
| 7 | Soft brown/black pencil/gel | Thin line or tightline | Defines eyes naturally |
| 8 | Eyelash curler | Curl lashes | Lifts & opens eyes |
| 9 | Mascara | Wiggle through lashes | Lengthens & volumizes |
| 10 | Cotton swab/makeup remover | Clean up | Perfect finish |
Final Tips for Success
- Practice makes perfect. Don’t worry if your first attempts aren’t flawless.
- Keep your look simple; focus on blending and subtlety.
- Use a mirror with good lighting.
- Take your time, especially when starting out.
- Experiment with shades that complement your eye color and skin tone.
Conclusion
Achieving natural eye makeup is all about enhancing your features with soft shades and minimal effort. This beginner-friendly tutorial guides you step-by-step to create a fresh, radiant look suitable for any occasion. With practice, patience, and gentle techniques, you’ll soon master the art of effortless, beautiful eyes.
Related Post
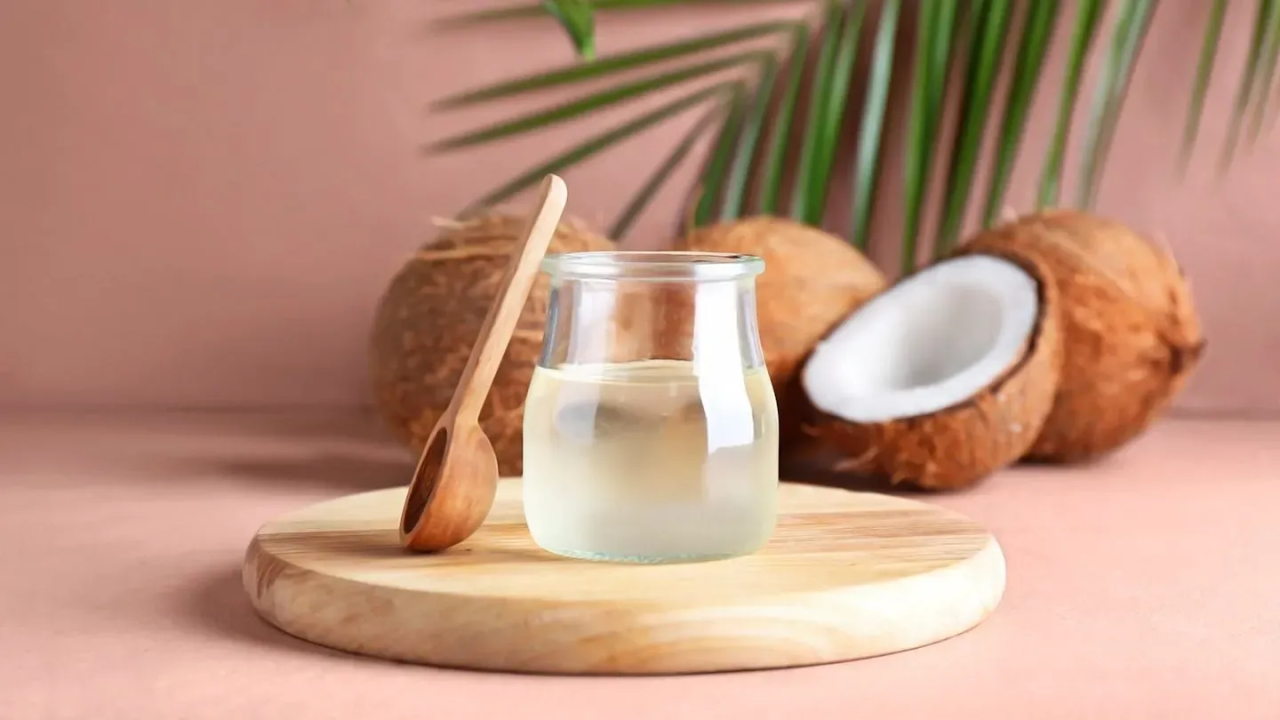
Is coconut oil is good for skin
Introduction Coconut oil has gained immense popularity as a natural skincare product. Derived from the [...]
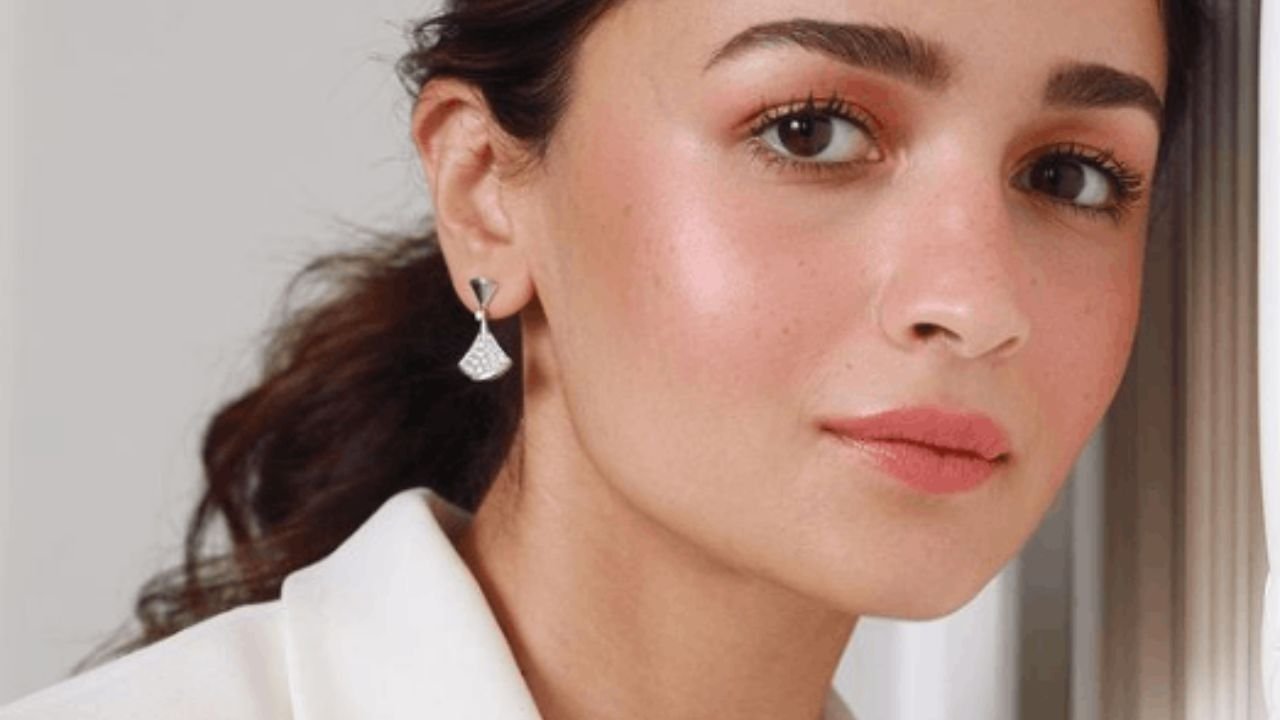
Top 8 Ways to Perfect Your Makeup for a White Dress
Introduction A white dress exudes elegance, purity, and timeless beauty. Whether you’re attending a wedding, [...]
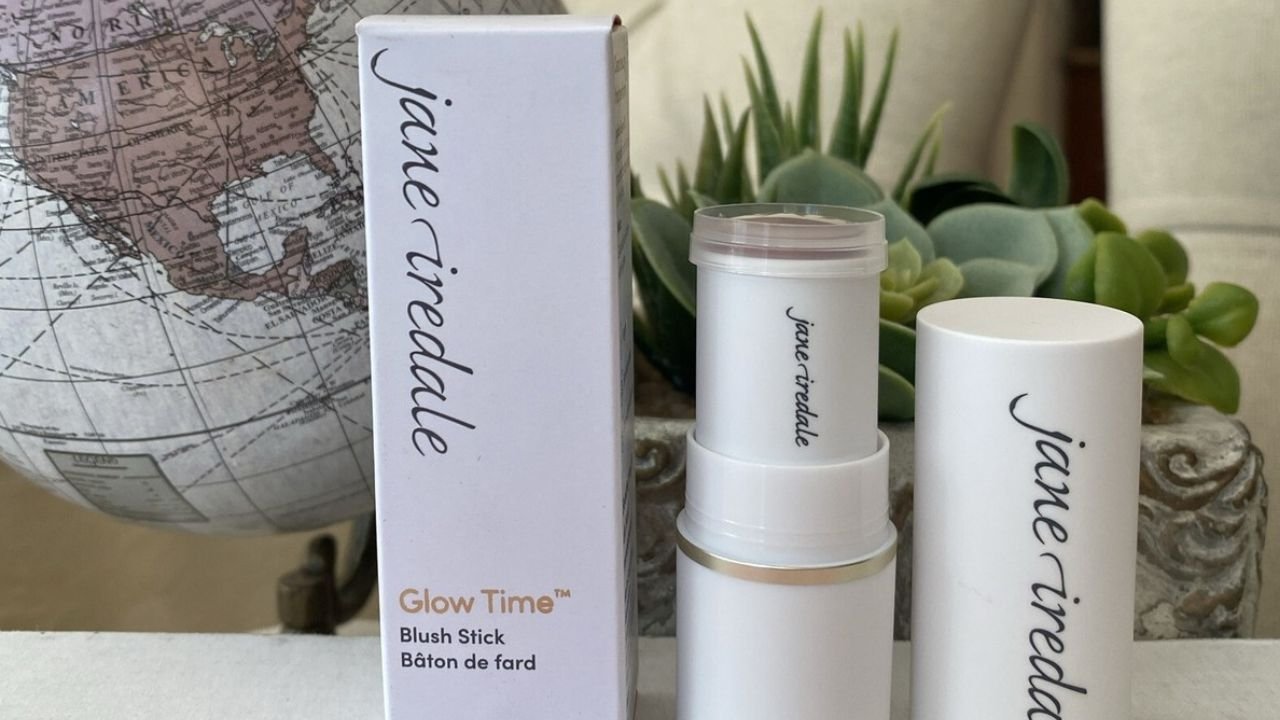
Glow Time® Blush Stick
Jane Iredale Glow Time® Blush Stick: A Creamy, Multitasking Marvel for Radiant Color Overview The [...]